There is nothing quite like waking up to the aroma of toasted nuts and sweet vanilla wafting through the kitchen. These Almond Flour Pancakes are designed for those who refuse to compromise on texture, offering a rustic, satisfying bite that rivals any traditional diner flapjack. If you have been searching for a grain-free breakfast that actually holds its shape and delivers a lacy, crispy edge, you have arrived at the right place.
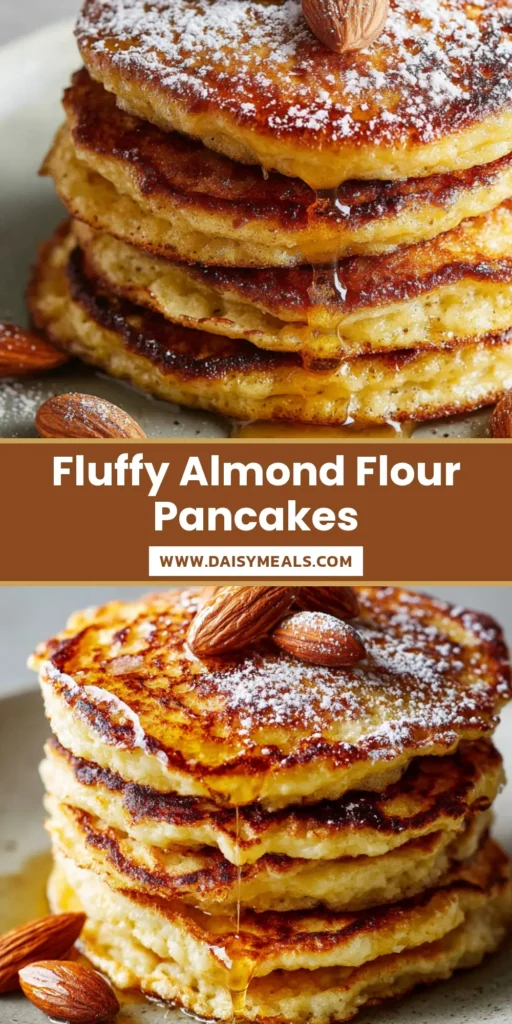
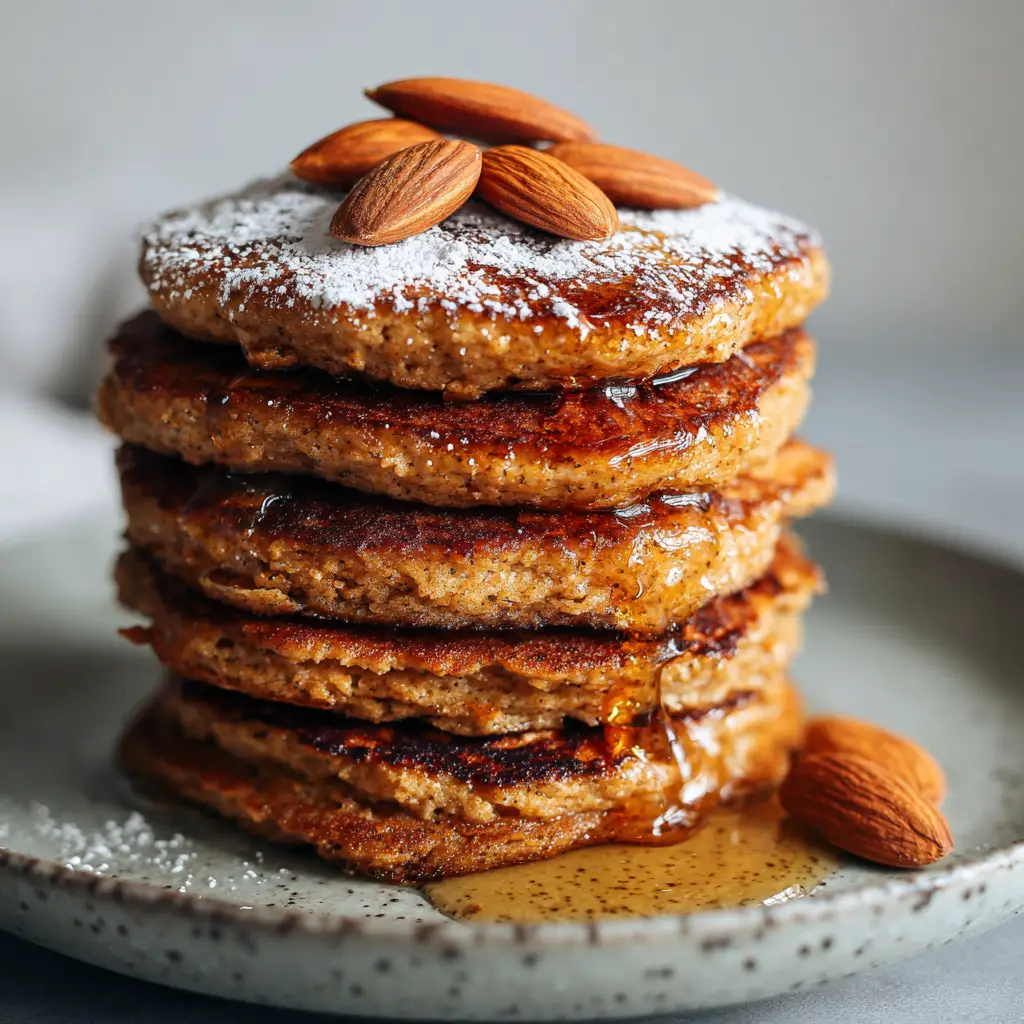
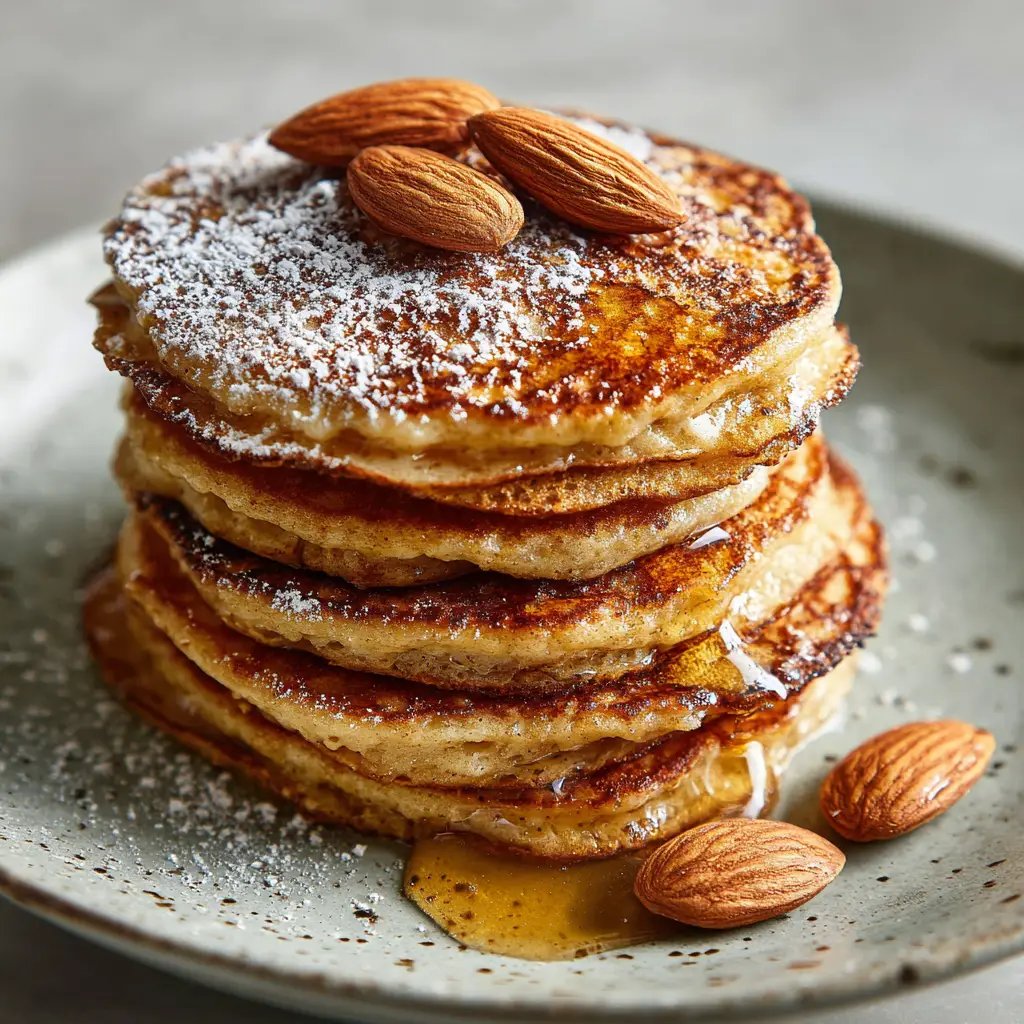
Visually, these pancakes are a masterpiece of home cooking. Imagine a tall, proud stack of five rustic pancakes, each glowing with a deep golden-brown hue that signals a perfectly caramelized exterior. The porous texture of the crumb is designed to catch every drop of amber syrup, while a delicate dusting of powdered sugar adds a touch of elegance. This recipe isn’t just about eating; it is about a sensory experience that starts the moment the batter hits the hot skillet.
Our approach to these Almond Flour Pancakes focuses on culinary logic, ensuring that the structural integrity of the pancake is maintained despite the absence of gluten. We achieve this through a precise balance of healthy fats and leavening agents. Whether you are a seasoned keto enthusiast or simply an enthusiastic home cook looking for a protein-packed start to your day, this recipe provides the blueprint for breakfast perfection.
Why You Will Crave These Fluffy Grain-Free Stacks
- Perfectly Rustic Texture: Unlike rubbery gluten-free alternatives, these pancakes feature an uneven, porous surface that provides the ideal “vessel” for toppings.
- Crispy, Lacy Edges: By using a specific fat-to-heat ratio, we ensure every pancake has that coveted “sear” around the perimeter.
- Aesthetic Appeal: Following our serving guide will result in a professional-grade 5-stack that looks exactly like a high-end brunch photograph.
- Satiety & Nutrition: Packed with healthy fats and fiber, these pancakes keep you full far longer than refined flour versions.
The Anatomy of the Best Almond Flour Pancakes
Success in grain-free baking starts with understanding your components. Because almond flour lacks the “glue” of gluten, every other ingredient must work twice as hard to provide structure and lift. Here is what you will need to gather for your breakfast masterpiece.
The Essential Flour Base
2 cups (192g) superfine blanched almond flour is the heart of this recipe. Using blanched flour ensures a smooth, cake-like crumb rather than the gritty texture found in unpeeled almond meal.
The Structural Binders
3 large (150g) eggs act as the primary structural support for the pancakes. In the absence of gluten, egg proteins provide the necessary elasticity to keep the stack from crumbling when flipped.
Hydration and Flavor Agents
1/2 cup (120ml) unsweetened almond milk (or dairy milk) thins the batter to a pourable consistency. 1 tbsp (15ml) pure vanilla extract adds that classic “birthday cake” aromatic note that pairs so well with toasted nuts.
Leavening for a Sky-High Stack
2 tsp (10g) baking powder is non-negotiable for achieving that porous, airy interior. This creates the tiny air pockets that define a rustic, light-weight pancake.
Foundational Invisible Ingredients
1/4 tsp (1.5g) fine sea salt is required to brighten the nutty flavors and balance the sweetness of the syrup. Additionally, you will need 2 tbsp (30g) of avocado oil or melted butter for the skillet to achieve those lacy, seared edges.
The Finishing Visual Touches
For the exact visual result, prepare 1/4 cup (60ml) amber-colored maple syrup, 1 tbsp (8g) powdered sugar for dusting, and exactly 5 whole raw almonds with their skins on for the garnish.
Tools for Achieving Professional Results
To recreate the “candid smartphone photo” look from our visual blueprint, you don’t need fancy gadgets, but the right tools make a difference. A heavy-bottomed non-stick skillet or a cast-iron griddle is essential for even heat distribution. A wide, thin offset spatula will be your best friend when it comes time to flip the delicate batter without tearing the edges.
You will also need a light grey ceramic plate with a matte finish to serve. The neutral tones of the plate allow the golden-brown colors of the Almond Flour Pancakes to pop. For the dusting, a fine-mesh sieve is recommended to achieve that sparse, delicate “snowfall” effect rather than large clumps of sugar.
Mastering the Batter: Step-by-Step Instructions
Step 1: Whisking the Dry Foundation
In a large mixing bowl, combine your 2 cups (192g) almond flour, baking powder, and sea salt. Use a whisk to break up any stubborn clumps of almond flour until the mixture is light and aerated.
Step 2: Incorporating the Liquid Gold
In a separate vessel, beat the 3 large eggs with the milk and vanilla extract. Slowly pour the wet ingredients into the dry, folding gently with a spatula until just combined. Do not overmix; a few small lumps are perfectly fine for a rustic texture.
Step 3: The Secret Rest Period
Allow the batter to sit for at least 5 minutes. This is a critical culinary step as it allows the almond flour to fully hydrate, which prevents the pancakes from being too fragile during the cooking process.
Searing the Perfect Golden-Brown Stack
Step 4: Managing Skillet Temperature
Heat your skillet over medium-low heat and add a small amount of oil or butter. You are looking for a gentle shimmer on the surface. If the oil begins to smoke, the pan is too hot and will burn the nut flour before the center is set.
Step 5: The Pour and the Bubbles
Pour approximately 1/4 cup (60ml) of batter onto the skillet for each pancake. Look for the “Visual Cue”: tiny bubbles will begin to form on the surface, and the edges will start to look matte and set. This indicates the “lacy” crust is forming underneath.
Step 6: The Golden Flip
Carefully slide your spatula under the pancake and flip in one swift motion. Cook for an additional 2 minutes until the second side is a matching golden-brown. Repeat until you have five beautiful pancakes for your stack.
Forensic Plating: Recreating the Visual Blueprint
To achieve the exact look of our Midjourney prompt, place your matte light grey ceramic plate on a flat surface. Stack the five pancakes slightly off-center to create a “rustic” and unedited feel. The stack should look tall and slightly uneven, showcasing the porous texture of the sides.
Drizzle your amber syrup slowly over the top, allowing it to pool in the natural crevices and drip naturally down the sides. Sift a very sparse amount of powdered sugar over the top pancake. Finally, place three whole raw almonds on the very top, and rest the remaining two almonds on the plate near the base. The result is a stunning, eye-level masterpiece ready for its close-up.
Expert Tips for Pancake Success
- Monitor Heat Constantly: Almond flour has a higher fat content than wheat flour, meaning it browns much faster. Keep your heat lower than you think you need.
- Wipe the Pan: Between batches, wipe the skillet clean to prevent any burnt bits from sticking to your fresh pancakes.
- Uniformity: Use a cookie scoop or measuring cup to ensure all five pancakes in your stack are the same size for better stability.
- Crispiness Hack: For extra crispy edges, use slightly more butter in the pan for the final 30 seconds of cooking.
What to Serve With Your Almond Flour Pancakes
These pancakes are quite rich, so pairing them with something bright or savory creates a balanced meal. If you are hosting a full brunch, consider serving these alongside a savory Caramelized Onion Tart to contrast the sweetness of the syrup. For those who enjoy a variety of textures, these pancakes pair beautifully with Gluten-Free Oatmeal Cookies on a dessert-themed breakfast spread.
If you’re in the mood for more almond-based treats later in the day, you might also enjoy these Almond Ricotta Cookies. And for the protein-conscious cook, following your pancake breakfast with Cinnamon Roll Protein Muffins throughout the week is a great way to stay on track with your goals.
Frequently Asked Questions
Yes! The base of the pancakes is naturally low-carb. To keep the entire dish keto, simply swap the maple syrup for a monk fruit-based syrup and use a powdered erythritol for the dusting.
Yes, you can refrigerate the batter for up to 24 hours. However, the baking powder may lose some potency, so you might need to add a small pinch more before cooking to ensure they remain fluffy.
You can, but the texture will be much grittier and the pancakes will be darker. For the fluffy, ‘cake-like’ rustic texture shown in our guide, superfine blanched almond flour is highly recommended.
Almond flour lacks gluten, which acts as a binder. Ensure you let the batter rest for at least 5 minutes to hydrate, and use 3 large eggs as structural support. Also, wait until the edges are fully set and ‘matte’ before attempting to flip.
Almond flour contains more natural oils and proteins than wheat flour, which means it browns faster. Use medium-low heat and a heavy-bottomed skillet to ensure the middle cooks through without burning the exterior.
The Ultimate Almond Flour Pancakes Recipe
Almond Flour Pancakes: The Ultimate Fluffy, Golden-Brown Gluten-Free Breakfast
Ingredients
Equipment
Instructions
- Whisk together the almond flour, baking powder, and salt in a large bowl until no clumps remain.
- In a separate bowl, beat eggs, milk, and vanilla. Fold the wet ingredients into the dry until a thick, rustic batter forms.
- Let the batter rest for 5 minutes. This allows the almond flour to absorb moisture for better structural integrity.
- Warm oil in a skillet over medium-low heat. Pour 1/4 cup of batter per pancake.
- Cook until bubbles form on the surface and edges appear set and lacy. Flip carefully.
- Cook the second side until golden-brown, about 2 minutes. Repeat for a total of 5 pancakes.
- Stack 5 pancakes on a grey matte plate. Drizzle with syrup, dust with powdered sugar, and top with raw almonds.
Notes
Cook on lower heat than traditional pancakes as almond flour browns quickly.
Final Thoughts on the Perfect Grain-Free Stack
Bringing these Almond Flour Pancakes to your table is more than just serving a meal; it is about providing a wholesome, delicious experience that everyone can enjoy. The combination of the rustic texture, the lacy edges, and the nutty garnish makes this a recipe you will return to Sunday after Sunday. We invite you to try this “Forensic Visual” approach to cooking and see the difference that precision makes.
If you loved this recipe, please leave a comment below and share your results! Don’t forget to save this recipe to your breakfast boards on Pinterest so you never lose the blueprint for the fluffiest gluten-free pancakes on the internet.