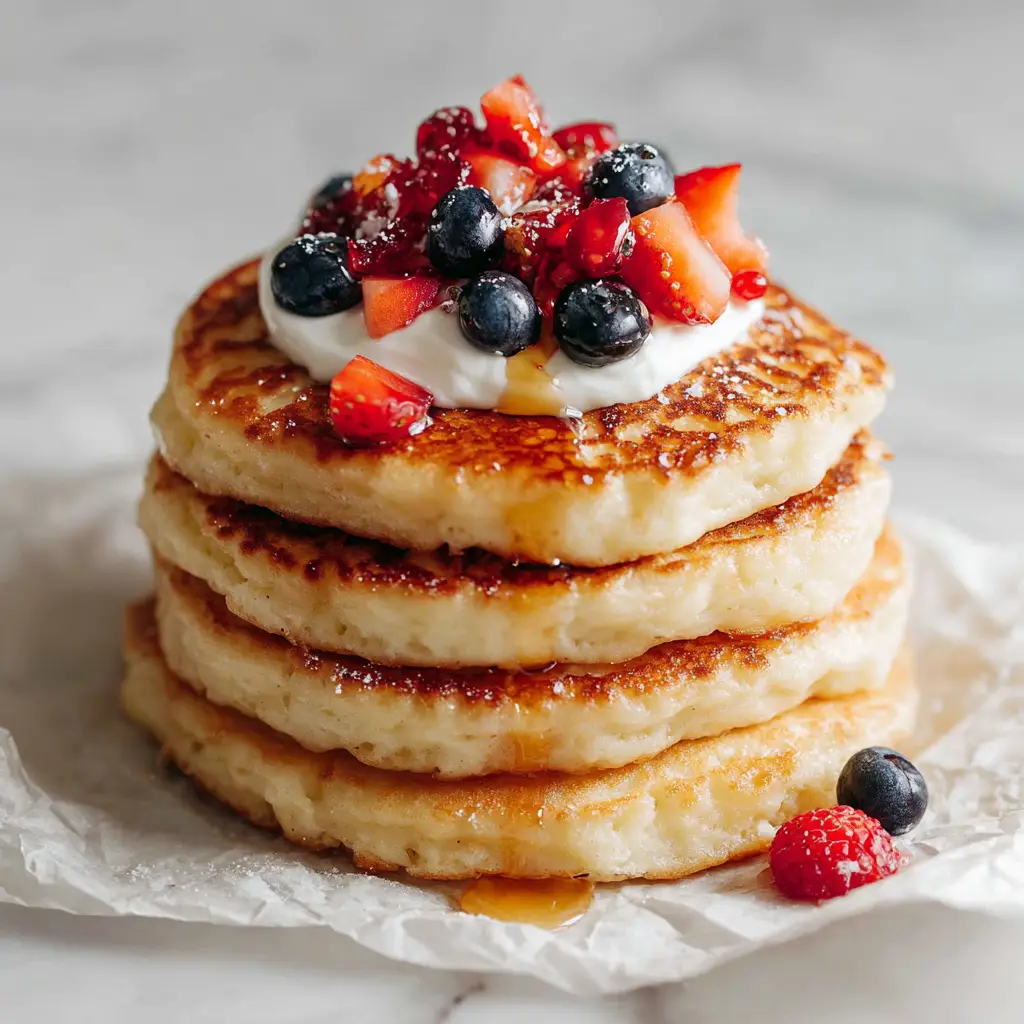
If you have been searching for the holy grail of grain-free breakfasts, these Coconut Flour Pancakes are about to change your morning routine forever. Imagine a tall stack of four thick, fluffy, golden-brown pancakes sitting elegantly on a crinkled piece of white parchment paper, ready to be devoured. This isn’t just a low-carb alternative; it is a culinary masterpiece that rivals any traditional buttermilk flapjack in texture and flavor.
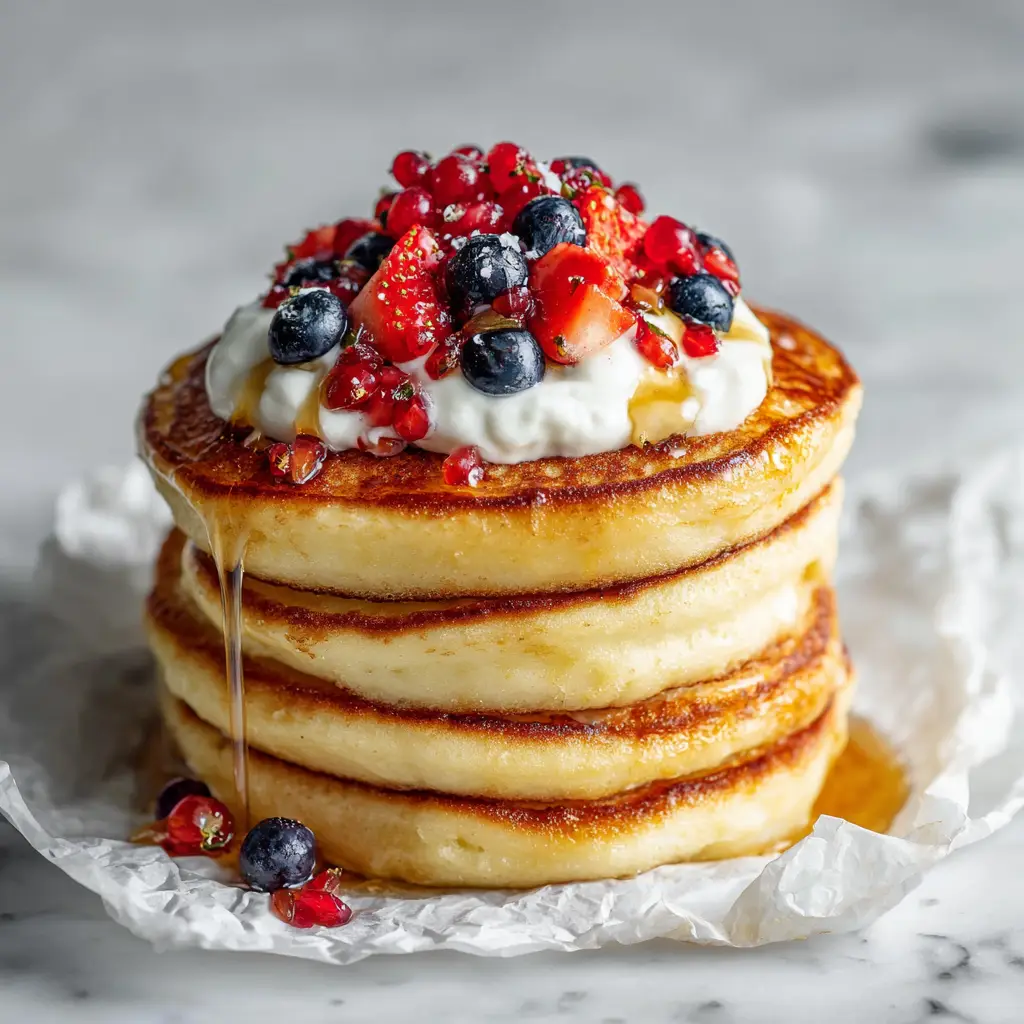
The visual appeal of this dish is undeniable, featuring a creamy dollop of thick white yogurt that melts slightly into the warm top cake. We adorn the stack with a vibrant medley of whole fresh blueberries, finely diced red strawberries, and the tart pop of tiny red currants. Finally, a thin drizzle of amber maple syrup runs down the side of the stack, catching the soft, natural daylight on a bright white marble surface.
Whether you are following a ketogenic lifestyle or simply want a high-fiber, gluten-free option, this recipe delivers on every promise. Unlike many dense or dry versions, our method ensures a light, airy crumb that absorbs just the right amount of syrup. It is the perfect companion to our almond flour pancakes for those who love variety in their gluten-free baking repertoire.
Why You Will Fall in Love With These Fluffy Griddle Cakes
- Unmatched Fluffiness: We use a specific egg-to-fiber ratio to ensure these cakes rise high and stay structurally sound without being “rubbery.”
- Visual Elegance: The contrast between the golden-brown edges and the vibrant red currants makes this a Pinterest-worthy centerpiece for any brunch.
- Nutrient-Dense Fuel: Packed with healthy fats and fiber, this meal keeps you satiated much longer than traditional wheat-based options.
- Natural Sweetness: The subtle coconut aroma pairs perfectly with the tartness of the fresh berries and the richness of the yogurt.
Essential Ingredients for the Perfect Grain-Free Batter
Coconut Flour: 1/2 cup (60g). This highly hygroscopic flour is the star of the show, providing a light, cake-like texture while being naturally gluten-free.
Large Eggs: 4 large units. Eggs provide the essential protein structure that coconut flour lacks, acting as the primary leavening support for that “tall stack” look.
Full-Fat Milk or Almond Milk: 1/2 cup (120ml). Liquid is crucial here as coconut flour absorbs up to four times its weight in moisture; this ensures your batter remains pourable.
Baking Powder: 1 tsp (5g). This is our “invisible” hero that creates the tiny air bubbles necessary for a thick, fluffy consistency rather than a flat crepe.
Vanilla Extract: 1 tsp (5ml). A high-quality extract rounds out the flavor profile, masking the “eggy” scent that can sometimes plague grain-free recipes.
Sea Salt: 1/4 tsp (1.5g). Salt is scientifically required to enhance the sweetness of the maple syrup and the natural sugars in the diced strawberries.
Melted Butter or Coconut Oil: 2 tbsp (30ml). Adding fat to the batter prevents a dry mouthfeel and helps achieve those beautiful golden-brown seared edges.
Toppings for the Signature Visual Finish
Greek Yogurt: 1/4 cup (60g). A thick, white dollop provides a creamy, tangy contrast to the warm pancakes and the sweet drizzle.
Fresh Blueberries: 1/4 cup (40g). Use whole berries to provide a “burst” of juice and a deep blue hue that pops against the golden cakes.
Fresh Strawberries: 3-4 medium units. Dicing these finely allows them to nestle into the yogurt dollop, mimicking the precise look of our visual blueprint.
Red Currants: 1 small bunch. These tiny, translucent red gems provide a gourmet aesthetic and a sharp, refreshing acidity.
Maple Syrup: 2 tbsp (30ml). Choose a Grade A amber syrup for that perfect, slow-moving drizzle that glazes the side of the stack.
Essential Kitchen Tools for Flawless Results
To achieve the “unedited, handheld smartphone photo” quality of this dish, you need the right tools for a professional sear. A heavy-bottomed non-stick skillet or a cast-iron griddle is vital for even heat distribution, ensuring no hot spots burn your delicate batter.
A thin silicone spatula is recommended for the “master flip.” Since coconut flour lacks gluten, the pancakes are more fragile until the eggs fully set, so a gentle hand is required. You will also need a wire whisk to ensure the coconut flour clumps are completely pulverized before cooking.
The Culinary Science of Mastering Coconut Flour Pancakes
Step 1: Preparing the High-Absorption Batter
In a large mixing bowl, whisk your 4 large eggs with the 1/2 cup (120ml) of milk and vanilla extract until frothy. Sift in the 1/2 cup (60g) of coconut flour, baking powder, and sea salt. It is critical to let this batter rest for at least 5 minutes; this allows the coconut flour to fully hydrate, resulting in a thicker batter that holds its shape on the griddle.
Step 2: Achieving the Perfect Golden Sear
Heat your skillet over medium-low heat and lightly grease with a tiny amount of butter. Scoop approximately 3 tbsp (45ml) of batter per pancake. You are looking for a specific visual cue: once the edges look set and matte, and small bubbles appear but don’t necessarily “pop” like wheat pancakes, it is time to flip. The goal is a deep, golden-brown crust on both sides.
Step 3: Building the Iconic Four-Layer Stack
Place a piece of crinkled white parchment paper on a white marble surface or plate. Stack four pancakes directly on top of each other. The heat from the stack will help keep the center warm while you prepare the toppings. This vertical height is essential for that “tall stack” aesthetic mentioned in our visual guide.
Step 4: The Art of the Topping
Place a generous dollop of thick white yogurt right in the center of the top pancake. Scatter your whole blueberries and finely diced strawberries over and around the yogurt. Delicately place a few red currants on top. To finish, pour the maple syrup slowly from the center so it creates a single, beautiful drizzle down the side of the stack.
Professional Secrets for Sky-High Fluffiness
- Don’t Overmix: While you want to remove clumps, over-whisking once the flour is in can lead to a denser texture. Mix until just combined.
- Heat Control: Coconut flour burns faster than wheat flour due to its fiber content. Keep your heat at medium-low to ensure the center cooks through before the outside darkens.
- Room Temperature Eggs: Using room temp eggs ensures the melted butter or coconut oil doesn’t solidify when it hits the batter, keeping the texture smooth.
- The “Rest” is Non-Negotiable: If you skip the 5-minute rest, your batter will be too thin, and your pancakes will spread into thin crepes instead of thick discs.
Storage, Reheating, and Meal Prep Advice
If you have leftover Coconut Flour Pancakes, they store remarkably well. Place them in an airtight container with pieces of parchment paper between each cake to prevent sticking. They will stay fresh in the refrigerator for up to 4 days.
For long-term storage, these pancakes are freezer-friendly. Freeze them in a single layer on a baking sheet before transferring to a zip-top bag. Reheat in a toaster or a dry skillet over low heat to regain that signature crisp edge. Avoid the microwave if possible, as it can make grain-free flours slightly spongy.
Perfect Pairings to Elevate Your Breakfast
While these pancakes are a star on their own, they pair beautifully with other high-protein or savory dishes. If you are hosting a brunch, consider serving them alongside our high-protein egg roll in a bowl for a unique savory-sweet balance. For those who prefer a more traditional spread, these go perfectly with a side of crispy bacon or a prosciutto-wrapped mozzarella platter.
If you’re in the mood for more baking, our cinnamon roll protein muffins offer a similar warm, comforting flavor profile that complements the coconut notes perfectly.
Frequently Asked Questions
Yes! You can easily substitute the milk with almond, coconut, or oat milk, and use melted coconut oil in place of butter for a completely dairy-free version.
No. Coconut flour is much more absorbent than wheat or almond flour. A 1:1 substitution will result in a very dry, crumbly mess. Follow the specific measurements in this recipe for success.
The secret is the combination of a high egg count and a resting period. The rest allows the fiber in the coconut flour to expand, creating a thicker batter that holds its height on the griddle.
Coconut flour lacks gluten, so it relies entirely on eggs for structure. Ensure you are using the correct egg-to-flour ratio and letting the batter rest for 5 minutes to fully hydrate before cooking.
Because of the high fiber and protein content, coconut flour browns quickly. Always cook them over medium-low heat to ensure the inside is cooked through before the outside burns.
The Ultimate Fluffy Coconut Flour Pancakes Recipe
Coconut Flour Pancakes: The Ultimate Fluffy and Grain-Free Recipe
Ingredients
Equipment
Instructions
- In a medium bowl, whisk eggs, milk, melted butter, and vanilla until smooth and slightly frothy.
- Add sieved coconut flour, baking powder, and salt. Whisk until no large clumps remain.
- Allow the batter to sit for 5 minutes. This is essential for the coconut flour to absorb the moisture and thicken.
- Heat a non-stick skillet over medium-low heat. Add a small amount of butter to the pan.
- Pour 3 tbsp of batter per pancake. Cook for 2-3 minutes until edges are matte and golden-brown.
- Carefully flip and cook for another 1-2 minutes until the second side is golden-brown and the center is set.
- Place four pancakes on a piece of parchment paper to form a tall stack.
- Add a dollop of yogurt, scatter blueberries, diced strawberries, and red currants. Finish with a drizzle of maple syrup.
Notes
Cook over medium-low heat to prevent burning the high-fiber flour.
Closing & Call to Action
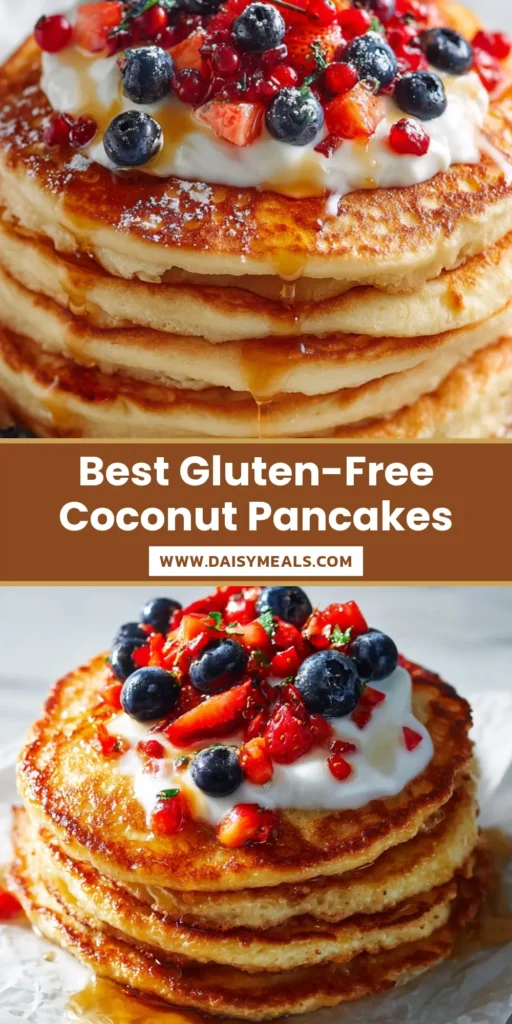
These Coconut Flour Pancakes prove that eating grain-free doesn’t mean sacrificing the textures and flavors we love. With their golden-brown finish and vibrant berry toppings, they are as much a feast for the eyes as they are for the palate. We hope this recipe becomes a staple in your kitchen!
Did you try this stack? We would love to hear how yours turned out! Leave a comment below and share your photos with us. Don’t forget to follow DaisyMeals on Pinterest for more culinary inspiration and high-RPM recipe ideas.