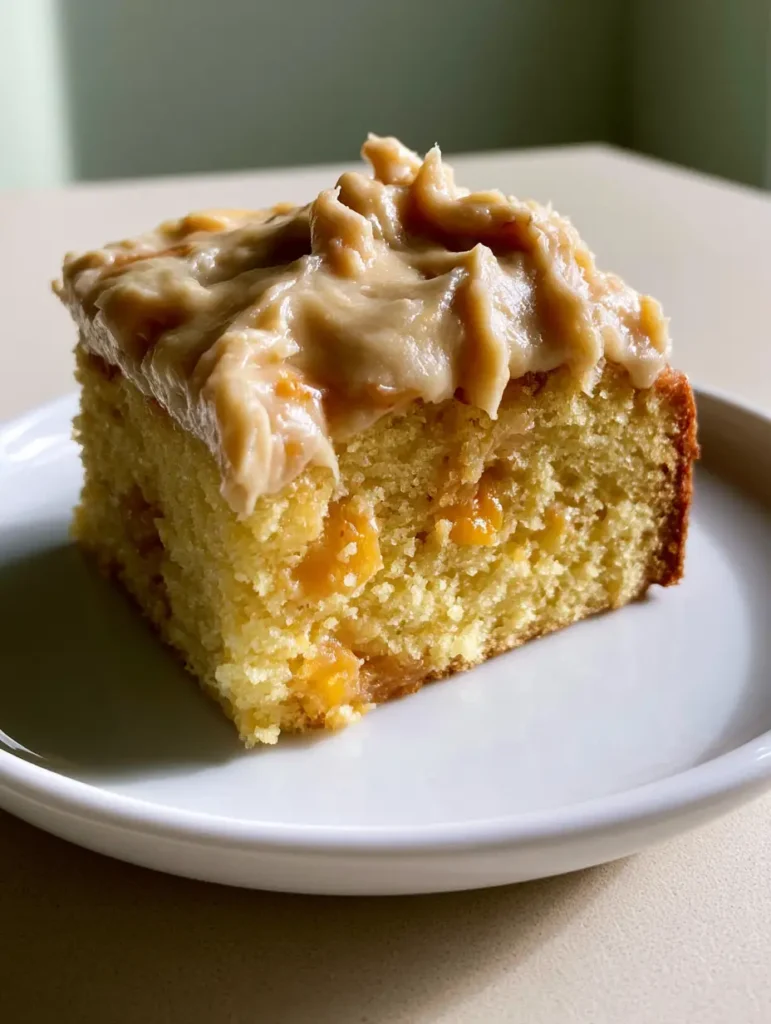
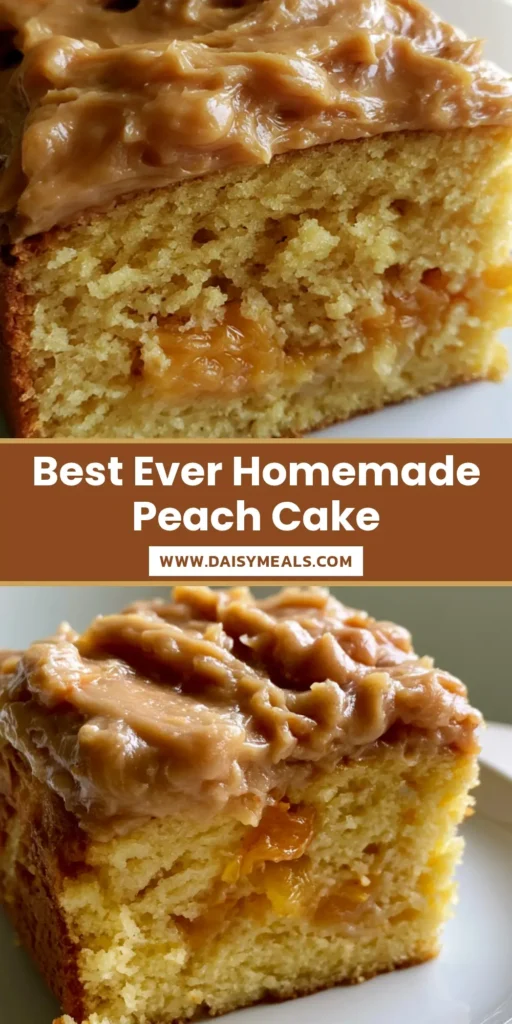
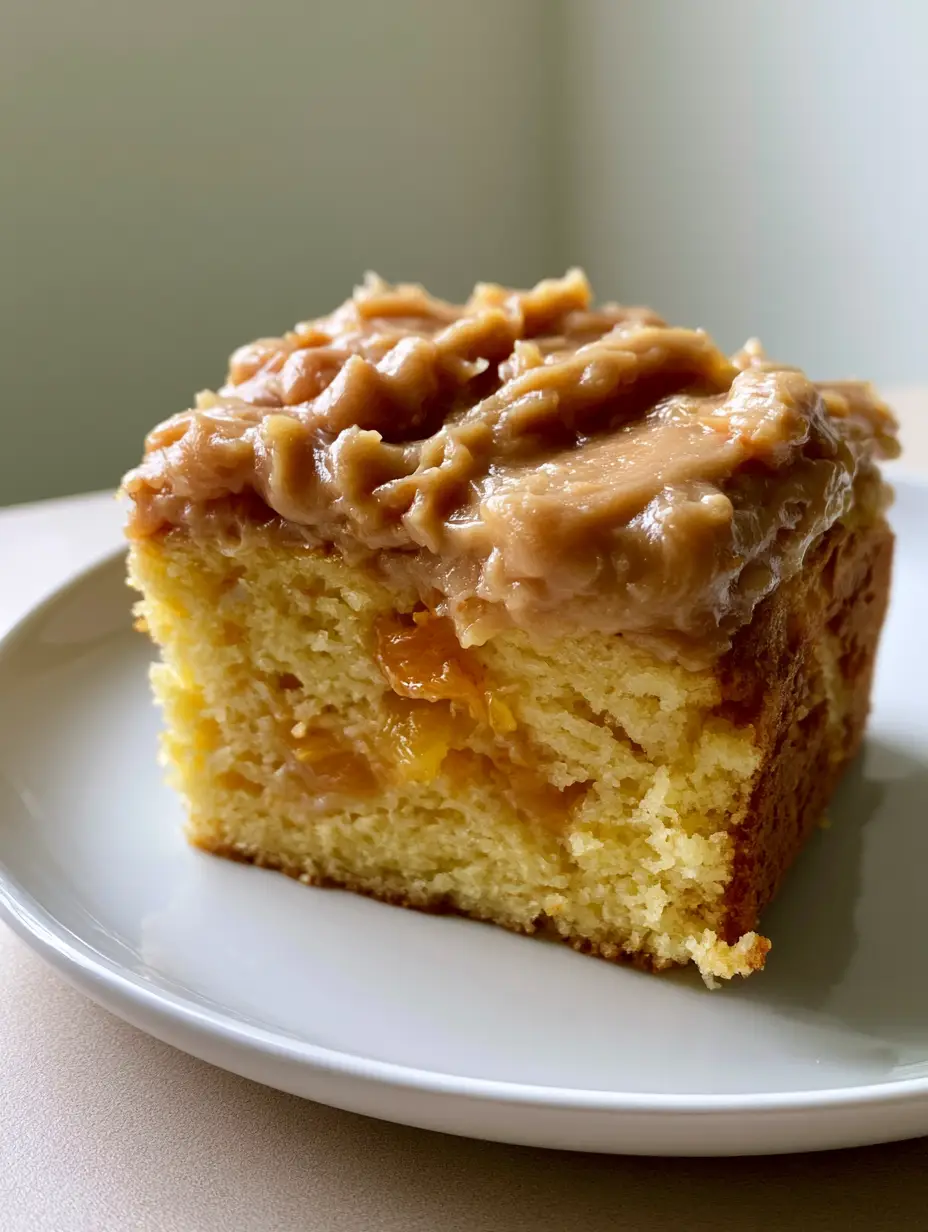
There is nothing quite like the sight of a generous slice of Homemade Peach Cake resting on a simple white ceramic plate, illuminated by the soft, natural glow of a late afternoon sun. This isn’t your average fruit cake; it is a celebration of texture and seasonal flavor. The cake itself features a moist, golden-yellow sponge that acts as the perfect canvas for pockets of tender, orange-colored cooked peach chunks.
Every bite offers a contrast between the airy crumb of the cake and the dense, caramel-toned sweetness of a thick brown sugar frosting. We have designed this recipe to yield those heavy, rustic swirls that look just as beautiful in a handheld smartphone photo as they do on your dining table. If you have been searching for a dessert that balances farmhouse charm with professional pastry techniques, this Homemade Peach Cake is your new gold standard.
Why This Is the Ultimate Golden Peach Sponge Experience
- The Crumb Texture: By using a specific ratio of fats and leavening agents, we achieve a golden-yellow sponge that is sturdy enough to hold heavy fruit but light enough to melt in your mouth.
- Sun-Kissed Peach Pockets: Unlike recipes that use raw fruit, our method ensures the peaches are perfectly “cooked” within the batter, resulting in vibrant orange gems of concentrated flavor.
- Decadent Caramel Frosting: The brown sugar frosting is cooked slightly to develop deep molasses notes, then whipped into thick, rustic swirls with a high-gloss finish.
- Visual Perfection: Designed to look stunning on a white ceramic plate, the contrast between the yellow cake and the caramel-toned frosting is a feast for the eyes.
Essential Components for a Perfect Golden Sponge
To achieve the visual and structural results seen in our Homemade Peach Cake, each ingredient must serve a specific culinary purpose. We focus on foundational elements that ensure your cake doesn’t just look good, but tastes extraordinary.
All-Purpose Flour: 1 ½ cups (190g). This provides the necessary gluten structure to support the weight of the peach chunks without the cake becoming dense or gummy.
Granulated Sugar: 1 cup (200g). Beyond sweetness, sugar aerates the butter during the creaming process, which is vital for that “golden-yellow” sponge appearance.
Unsalted Butter: ½ cup (115g), softened. Butter provides the rich flavor and the “fat-coat” on flour proteins that creates a tender, moist crumb.
Large Eggs: 3 count. Eggs are the primary emulsifier here, binding the fats and liquids together to ensure the cake doesn’t crumble when sliced.
Baking Powder: 2 tsp (10g). This is our “invisible” hero, providing the lift needed to keep the sponge airy despite the moisture from the fruit.
Whole Milk: ½ cup (120ml). Milk adds moisture and contributes to the golden browning of the cake exterior through the Maillard reaction.
Fresh Peaches: 2 cups (300g), diced. We use ripe peaches that turn a deep orange when baked, providing the signature “studded” look in every slice.
Dark Brown Sugar: 1 cup (200g), packed. For the frosting, this provides the caramel tone and the thick, spreadable consistency required for rustic swirls.
Heavy Cream: ¼ cup (60ml). This thins the brown sugar base into a smooth, glossy frosting that holds its shape under natural light.
Tools for Professional Cake Success
To replicate the rustic yet refined look of our Homemade Peach Cake, you will need a few standard kitchen tools. A 9-inch (23cm) round cake pan is essential for achieving the height shown in the photos.
An electric hand mixer or stand mixer is required to cream the butter and sugar until pale and fluffy. For the frosting, a small offset spatula is the secret to creating those heavy, rustic swirls that catch the light beautifully.
The Step-By-Step Journey to Peach Perfection
Preparing the Golden Sponge Base
Begin by preheating your oven to 350°F (175°C). Grease your cake pan thoroughly and line the bottom with parchment paper to ensure a clean release onto your ceramic plate later.
In a large bowl, cream the softened butter and granulated sugar for at least 3-5 minutes. You are looking for a visual change: the mixture should turn from yellow to a pale ivory and look significantly more voluminous.
Add the eggs one at a time, beating well after each addition. This builds a strong emulsion that prevents the Homemade Peach Cake from becoming oily. Whisk together your dry ingredients—flour, baking powder, and salt—in a separate vessel.
Folding in the Vibrant Peach Chunks
Alternate adding the dry ingredients and the milk to your butter mixture, starting and ending with the flour. Be careful not to overmix at this stage; stop as soon as the last streak of flour disappears.
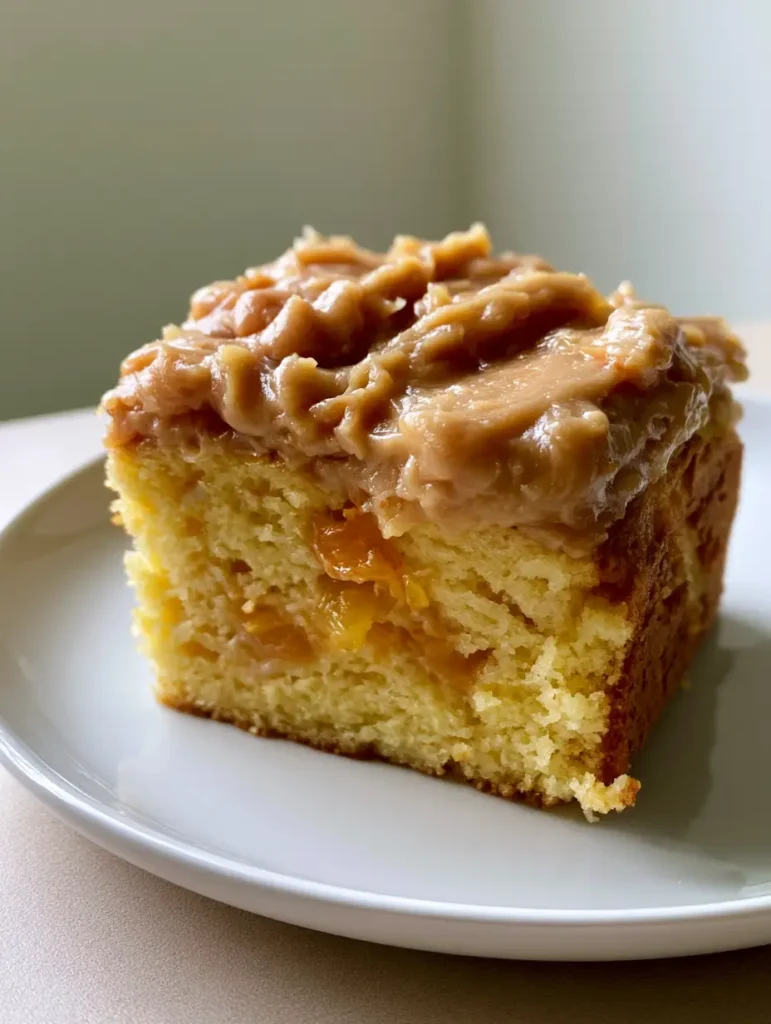
Gently fold in the diced peaches. These should be evenly distributed so that every slice is visibly “studded” with orange fruit. The batter will be thick, which is necessary to prevent the peaches from sinking to the bottom of the pan.
Pour the batter into the prepared pan and smooth the top. Bake for 35-40 minutes. Look for a deep golden-yellow color on top and a toothpick that comes out clean with just a few moist crumbs attached.
Crafting the Rustic Brown Sugar Frosting
While the cake cools completely, prepare the caramel-toned frosting. In a small saucepan, melt a 1/2 cup (115g) of butter with the brown sugar and heavy cream. Bring to a gentle simmer for 2 minutes, then remove from heat.
Whisk in 2 cups (240g) of sifted powdered sugar and a pinch of salt. Let the frosting cool until it reaches a thick, spreadable consistency. It should be glossy and hold a peak when lifted with a spoon.
Using an offset spatula, spread the frosting over the top of the cooled cake. Use a “swooping” motion to create the heavy, rustic swirls. The frosting should look deliberate and generous, catching the side-light perfectly.
Master Tips for the Ultimate Cake Visuals
- Peach Prep: If your peaches are very juicy, toss the diced chunks in a tablespoon of flour before adding them to the batter. This ensures they stay suspended in the sponge.
- Temperature Control: Never frost a warm cake. The brown sugar frosting will melt and lose its “rustic swirl” definition if the cake isn’t completely cool to the touch.
- The Gloss Factor: If your frosting looks too matte, add a teaspoon of hot water and whisk vigorously. This restores the slight gloss seen in our handheld smartphone photo style.
- Slicing for the Camera: Use a sharp, thin knife dipped in hot water and wiped dry between every cut. This ensures the peach chunks and the golden sponge layers remain distinct and clean.
How to Store and Enjoy Your Peach Creation
This Homemade Peach Cake is best enjoyed the day it is made, especially when the frosting is fresh. However, it stores remarkably well due to the moisture from the fruit.
Keep the cake in an airtight container at room temperature for up to 2 days. If you need to keep it longer, refrigerate for up to 5 days, but bring it to room temperature before serving to soften the butter-based sponge and frosting.
For long-term storage, you can freeze the unfrosted cake. Wrap it tightly in plastic wrap and foil; it will stay fresh for up to 3 months. Thaw overnight in the refrigerator before applying the fresh brown sugar swirls.
What to Serve With Your Homemade Peach Cake
This cake is a showstopper on its own, but it pairs beautifully with other homemade treats. If you are hosting a summer brunch, consider serving it alongside a savory dish like prosciutto-wrapped mozzarella to balance the sweetness.
For those who love a variety of textures, a side of gluten-free oatmeal cookies provides a lovely crunch. If you are leaning into a full dessert spread, this cake stands up well next to a rich no-bake chocolate eclair cake.
Finally, if you have extra peaches, you might want to try using a similar fruit profile in a cranberry pineapple upside down cake (coming soon) for a different take on cooked fruit desserts.
Frequently Asked Questions About Peach Cake
Absolutely. Adjust the baking time to 30-35 minutes. The cake will be thinner, but you can still apply the thick brown sugar frosting in rustic swirls across the top.
Yes, you can use frozen peaches. Ensure they are completely thawed and patted very dry with paper towels to prevent excess moisture from making the golden sponge soggy.
The secret is using a small offset spatula and ensuring the frosting has cooled to a thick, holdable consistency. Use a ‘C’ shaped swooping motion to create texture and depth.
The color comes from the combination of high-quality butter, a thorough creaming process with granulated sugar, and the use of whole eggs which provide natural yellow pigments.
Peaches often sink if the batter is too thin or the fruit is too wet. Tossing your diced peaches in a tablespoon of flour before folding them in helps them grip the batter and stay suspended.
The Complete Homemade Peach Cake Recipe
Ready to bake? This recipe captures the essence of summer in every slice. Follow the instructions below to achieve that perfect golden-yellow sponge and the iconic caramel-toned frosting swirls. Don’t forget to capture your own photo in the natural sunlight!
Homemade Peach Cake with Rustic Brown Sugar Swirl Frosting
Ingredients
Equipment
Instructions
- In a large bowl, cream together the softened butter and granulated sugar until the mixture is pale ivory and fluffy, about 3-5 minutes.
- Beat in eggs one at a time. Alternately mix in the dry ingredients (flour, baking powder, salt) and milk, beginning and ending with the flour.
- Gently fold the diced peach chunks into the thick batter until evenly distributed.
- Pour batter into a greased 9-inch pan and bake at 350°F (175°C) for 35-40 minutes until golden-yellow.
- Melt brown sugar, butter, and heavy cream in a saucepan. Simmer for 2 minutes, then remove from heat.
- Whisk in powdered sugar until thick and glossy. Let cool until it reaches a spreadable consistency.
- Using an offset spatula, create heavy, rustic swirls of frosting across the top of the cooled cake.
Notes
Use room temperature eggs for a smoother emulsion and better rise.
Sharing Your Culinary Masterpiece
We hope this Homemade Peach Cake brings a bit of golden sunshine to your kitchen. The combination of moist sponge and thick, rustic frosting is truly a crowd-pleaser that looks as good as it tastes. If you enjoyed this recipe, please leave a comment below and share your results! You can find more visual inspiration and seasonal recipes by following us on Pinterest. Happy baking!