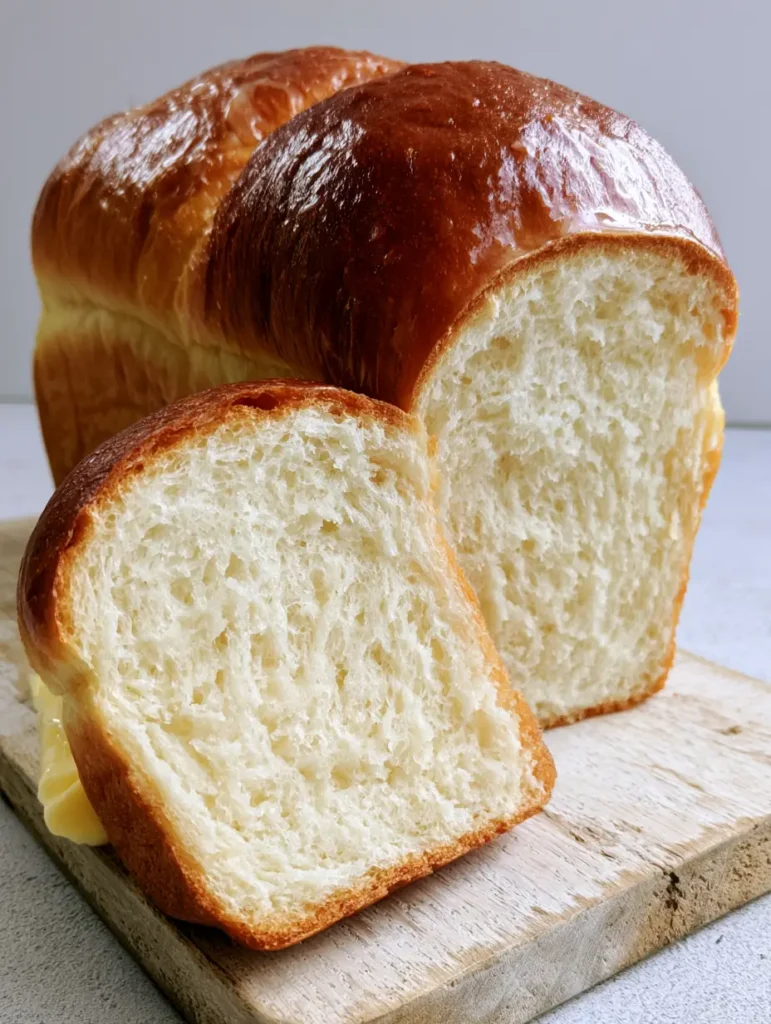
There is something deeply nostalgic and comforting about the aroma of freshly baked Amish Sweet Bread wafting through a quiet kitchen. This isn’t just a standard white loaf; it is a masterpiece of texture, featuring a signature soft ivory crumb and a beautifully tall, rectangular structure that commands attention on any wooden cutting board. If you have been searching for that elusive, pillowy-soft bread often found at country farm stands, you have arrived at the definitive guide to recreating it in your own home.
Inspired by the traditional “friendship” breads but utilizing a reliable yeast-based method, this Amish Sweet Bread achieves a perfect balance of gentle sweetness and rich, buttery undertones. Every thick slice offers a uniform, fine texture that feels light as air yet holds up perfectly to a generous slab of softened yellow butter. The exterior is just as impressive, boasting a smooth, shiny golden-brown top crust that gets its characteristic luster from a final brush of melted salted butter immediately after leaving the oven.
Why This Amish Sweet Bread Will Become Your New Kitchen Staple
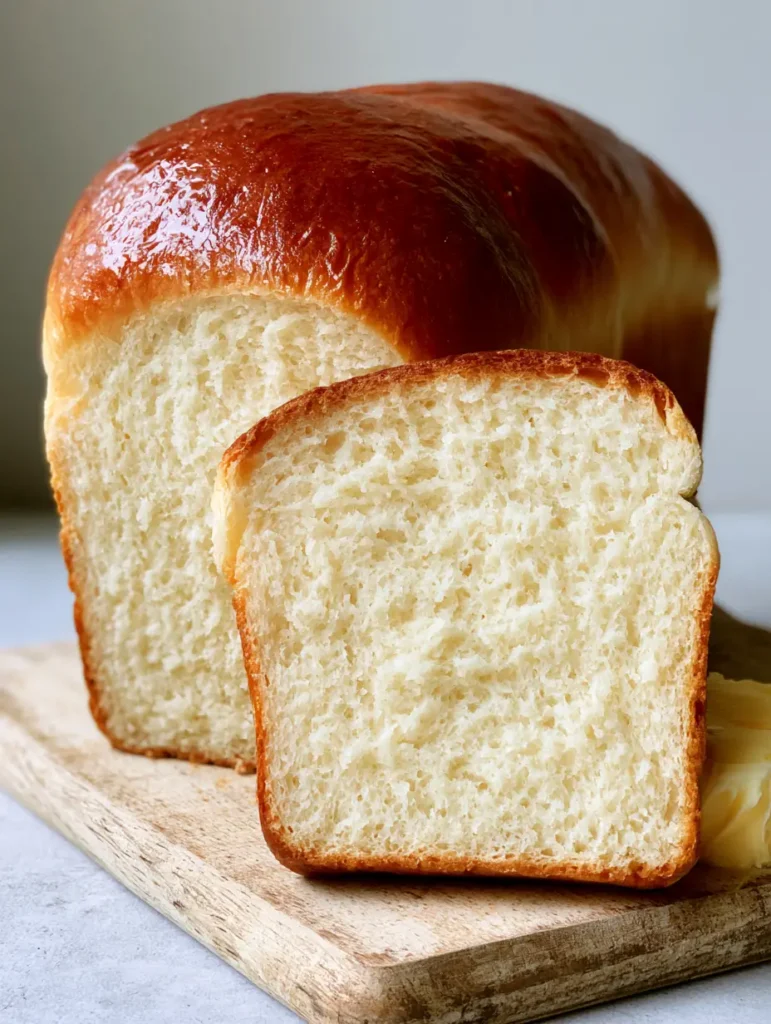
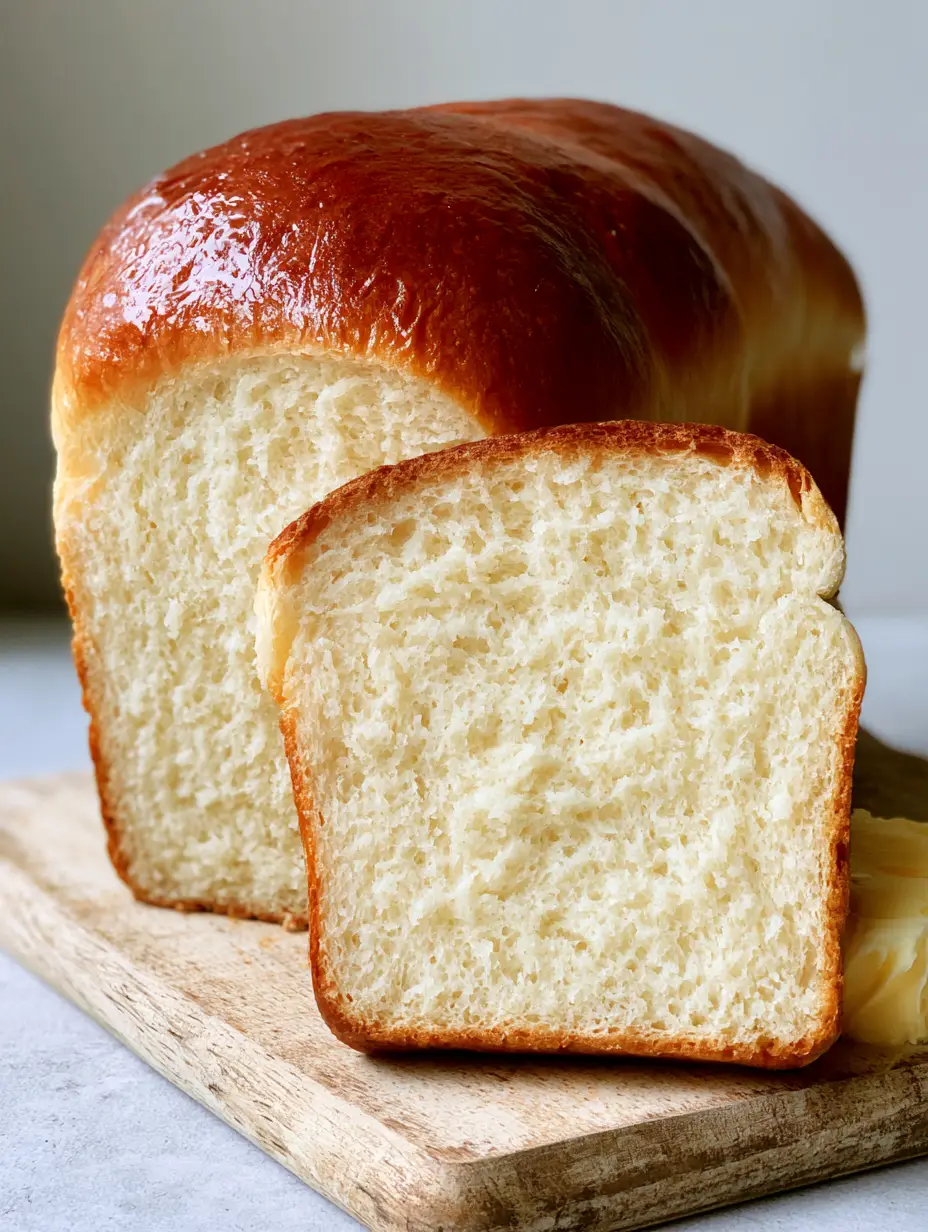
- The Crumb Perfection: Unlike rustic sourdough, this loaf features a pale ivory interior with a fine, soft, and uniform texture that melts in your mouth.
- Signature Golden Sheen: By brushing the crust with melted salted butter while still hot, we achieve a professional bakery-style shine that remains soft to the touch.
- Versatile Slicing: The tall rectangular shape makes it ideal for thick, cafe-style slices that are perfect for toast, sandwiches, or enjoying plain.
- Scientifically Sound Structure: Using the perfect ratio of fat to flour ensures the bread remains moist for days, unlike leaner artisan breads that dry out quickly.
The Pantry Staples for a Perfect Amish Loaf
Active Dry Yeast: This is the engine of our rise. For this Amish Sweet Bread, we use a generous amount to ensure the dough overcomes the weight of the sugar and fat to reach that impressive tall height.
Warm Water (110°F / 45°C): Precision is key here. Water that is too hot will kill the yeast, while water that is too cold will result in a sluggish rise and a dense, flat loaf.
Granulated Sugar: 0.5 cups (100g) of sugar does more than just sweeten. It feeds the yeast and contributes to the beautiful browning of the crust through caramelization.
Warm Whole Milk (240ml): The proteins and fats in milk are responsible for that soft ivory crumb. It breaks down the gluten just enough to ensure the bread is tender rather than chewy.
Melted Salted Butter: 0.25 cups (57g) of butter is incorporated into the dough for richness, while an additional 2 tbsp (30g) is reserved for the final brush to create that shiny golden-brown top.
Bread Flour: 5 to 6 cups (625g – 750g) of high-protein bread flour is essential. This provides the structural integrity needed for the tall rectangular loaf to hold its shape without collapsing.
Fine Sea Salt: 1.5 tsp (9g) of salt regulates the yeast activity and enhances the subtle sweetness of the dough, ensuring the flavor isn’t one-dimensional.
Essential Tools for Bread Success
To achieve the visual result seen in our photos, you will need a few specific tools. A 9×5 inch (23x13cm) rectangular loaf pan is non-negotiable for achieving that iconic tall shape. A stand mixer fitted with a dough hook is highly recommended to develop the gluten efficiently, though hand-kneading is a great workout for the traditionalist.
A pastry brush is vital for applying the melted butter sheen, and a high-quality wooden cutting board provides the perfect rustic backdrop for slicing. Finally, an instant-read thermometer ensures your liquids are at the perfect temperature to wake up the yeast without scalding it.
The Foolproof Path to a Golden Crust and Soft Crumb
Step 1: Activating the Yeast Engine
In a large bowl or the bowl of your stand mixer, combine 2 cups (480ml) of warm water and 0.5 cups (100g) of sugar. Sprinkle 1.5 tbsp (14g) of active dry yeast over the top and stir gently. Let it sit for about 10 minutes until a thick, frothy foam forms on the surface; this “bloom” confirms your yeast is alive and ready to work.
Step 2: Incorporating the Enrichment
Whisk in the warm milk and the 0.25 cups (57g) of melted butter. Gradual addition of fat ensures it integrates smoothly with the yeast mixture. Add the sea salt and begin adding the bread flour one cup at a time, mixing on low speed until a shaggy dough begins to pull away from the sides of the bowl.
Step 3: Developing the Gluten Structure
Knead the dough for 8-10 minutes using the dough hook or 12 minutes by hand on a floured surface. You are looking for a smooth, elastic texture that passes the “windowpane test”—where a small piece of dough can be stretched thin enough to see light through it without tearing. This step is what creates the airy yet dense structure of the final bread.
Step 4: The First Bulk Fermentation
Place the dough in a lightly greased bowl and cover it with a damp cloth. Let it rise in a warm, draft-free spot for 1 to 1.5 hours, or until it has doubled in size. This slow expansion is where the flavor develops and the ivory crumb begins to take its airy form.
Step 5: Shaping for the Tall Loaf Look
Gently punch down the dough to release excess gas. Divide it into two equal portions and shape them into tight cylinders. Place each into a greased 9×5 inch loaf pan, ensuring the dough is tucked into the corners to encourage a uniform, tall rectangular rise during the second proofing.
Step 6: The Final Proof and Bake
Cover the pans and let the dough rise again for 45-60 minutes until it has risen about an inch above the rim of the pan. Bake in a preheated oven at 350°F (175°C) for 30-35 minutes. You will know it is done when the top is a deep golden-brown and the loaf sounds hollow when tapped on the bottom.
Step 7: The Signature Butter Finish
This is the most critical visual step. As soon as the bread comes out of the oven, take your remaining melted salted butter and brush it generously over the smooth top crust. This creates that irresistible shiny sheen and keeps the crust soft. Let the bread cool on a wire rack before moving it to a wooden cutting board for slicing.
Expert Secrets for the Fluffiest Amish Bread
- Sift Your Flour: For the most uniform, fine texture, sift your bread flour before measuring to remove clumps and aerate the protein.
- Temperature Control: If your kitchen is cold, let the bread rise inside an oven that is turned off but has the oven light on for gentle warmth.
- The Butter Timing: Do not wait for the bread to cool before brushing on the butter; the heat helps the crust absorb the moisture while leaving the fat on the surface for shine.
- Don’t Rush the Cool: Cutting into hot bread can cause the steam to escape too quickly, resulting in a gummy texture. Wait at least 30 minutes for the cleanest, thick slices.
Preserving Your Homemade Loaf
Amish Sweet Bread stays remarkably soft thanks to the milk and butter content. Store completely cooled loaves in an airtight bag at room temperature for up to 4 days. If you want to keep it longer, this bread freezes beautifully; simply wrap the whole loaf or individual thick slices in plastic wrap and then foil, freezing for up to 3 months. To revive that “just baked” feel, a quick 10-second zap in the microwave or a light toast will bring back the pillowy softness.
Perfect Pairings for Your Amish Sweet Bread
This bread is a versatile star that pairs wonderfully with both sweet and savory dishes. For a cozy breakfast, serve a thick slice toasted alongside banana-infused treats or enjoy it with a smear of jam. If you are looking for a savory contrast, it makes incredible grilled cheese sandwiches to serve with creamy pasta dishes or a fresh summer salad.
For those who love adventurous flavors, try using this bread as a base for French toast topped with a drizzle of the sauce from tropical chicken for a unique sweet-and-savory brunch. It also works as a fantastic side for a hearty stuffed potato dinner to soak up every bit of flavor.
Frequently Asked Questions
Yes, all-purpose flour works, but your bread may be slightly less tall and have a softer structure. Bread flour contains more protein, which helps the loaf maintain its rectangular shape and airy height.
Absolutely. Use the ‘White Bread’ or ‘Sweet Bread’ setting. However, to get the specific tall rectangular shape shown here, we recommend using the machine only for the dough cycle and baking it in standard loaf pans.
The secret is the ‘butter brush.’ Applying melted salted butter to the crust immediately after it comes out of the oven traps moisture and creates that professional sheen.
They are similar in flavor, but traditional Friendship Bread uses a fermented starter that takes days to prepare. This recipe uses active dry yeast for a much faster, more reliable result with the same nostalgic taste.
This usually happens if the yeast was expired or if the water used was too hot (over 120°F). Ensure your yeast is fresh and foamy before adding the flour.
The Master Amish Sweet Bread Recipe
Amish Sweet Bread: The Ultimate Soft and Fluffy Homemade Loaf
Ingredients
Equipment
Instructions
- Mix warm water, sugar, and yeast in a bowl. Let sit for 10 minutes until foamy.
- Stir in warm milk, melted butter, and salt. Gradually add flour until a dough forms.
- Knead with a dough hook for 8-10 minutes until smooth and elastic.
- Place in a greased bowl, cover, and let rise in a warm spot for 1-1.5 hours until doubled.
- Divide dough in half, place in two 9x5 pans. Cover and let rise for 45-60 minutes.
- Bake at 350°F (175°C) for 30-35 minutes until golden brown.
- Immediately brush the tops with melted salted butter for a shiny finish.
Notes
Ensure your water is not hotter than 115°F to avoid killing the yeast.
Join the Baking Community!
We hope this Amish Sweet Bread brings a touch of farmhouse comfort to your home. There is nothing quite like the pride of pulling a tall, golden-brown loaf out of your own oven. If you enjoyed this recipe, please leave a comment below and share your results with us! Don’t forget to follow DaisyMeals on Pinterest for more baking inspiration and tag us in your photos. Happy baking!