If you have been searching for a dinner that delivers restaurant-quality depth with the ease of a 30-minute weeknight meal, this Garlic Miso Chicken is your new gold standard. This dish is defined by its striking visual contrast: succulent, pan-seared chicken thighs coated in a glossy, dark mahogany glaze that glistens under the light. Every bite offers a sophisticated balance of salty fermentation, sharp aromatic garlic, and a lingering sweetness that creates those coveted caramelized charred edges.
Imagine a pale ceramic plate holding a stack of perfectly sliced chicken, each piece shimmering with a thick, savory lacquer. A thin, translucent, amber-hued sauce pools slightly at the base of the meat, inviting you to drag every morsel through it. Finished with the crunch of toasted white sesame seeds and the brightness of sliced green scallion rings and fresh cilantro, this Garlic Miso Chicken isn’t just a meal—it is a sensory experience that hits every flavor profile from salt and fat to acid and heat.
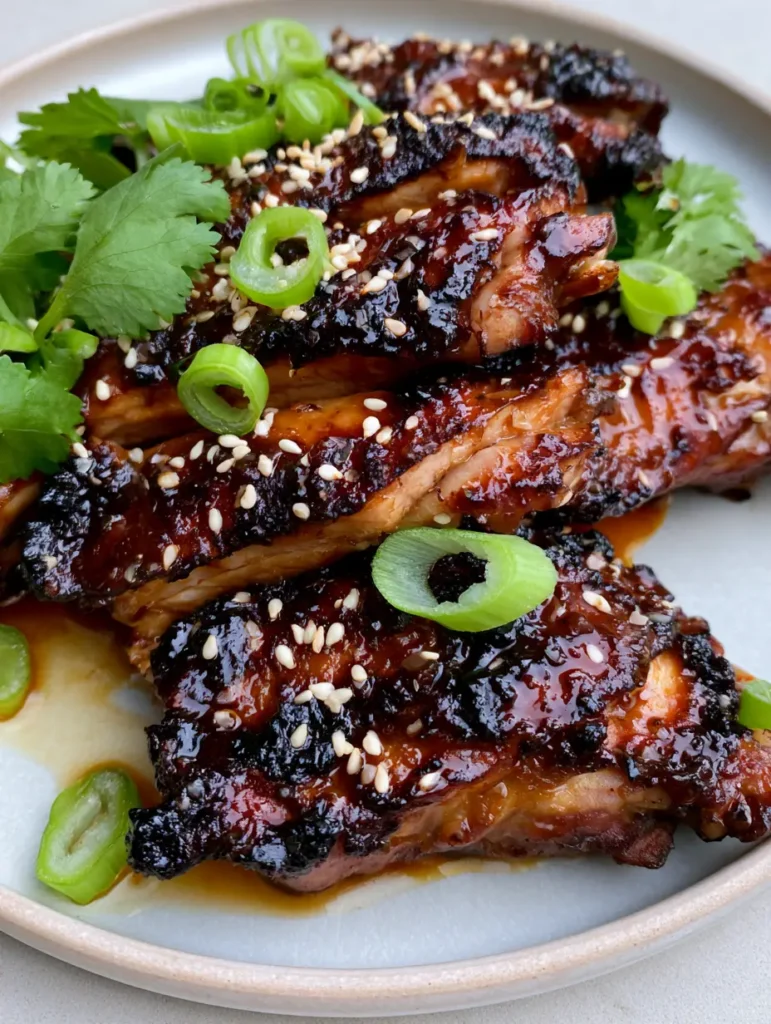
Why This Garlic Miso Chicken Recipe Works Every Single Time
- The Mahogany Glaze: We utilize the high sugar and protein content in red miso and mirin to achieve a deep, dark mahogany color that coats the chicken without burning.
- Textural Harmony: By searing the chicken over medium-high heat before adding the sauce, we ensure caramelized charred edges that provide a smoky counterpoint to the tender meat.
- The Umami Payload: Using fermented miso paste creates a “fifth taste” intensity that simple salt-and-pepper seasoning cannot replicate.
- Visual Precision: The garnish of bright green scallions and white sesame seeds provides the essential “pop” against the dark glaze, making the dish look as professional as it tastes.
The Secret Umami Components for Garlic Miso Chicken
To achieve the specific visual and flavor results of this Garlic Miso Chicken, every ingredient serves a dual purpose for both taste and aesthetics. We aren’t just seasoning; we are building a structural glaze.
Boneless Skinless Chicken Thighs (1.5 lbs / 680g): Thighs stay juicy under high heat and provide the perfect flat surface for that uniform dark mahogany sear. You can use breasts, but they lack the fat content needed to carry the heavy miso flavors.
Red Miso Paste (3 tbsp / 50g): This is the soul of the dish. Red miso is fermented longer than white miso, providing the necessary dark pigment and robust, salty depth required for the glaze.
Fresh Garlic (4 cloves, minced): We use a generous amount of garlic to ensure the aroma survives the heat. The minced pieces become suspended in the glaze, adding texture and “bits” of concentrated flavor.
Mirin (2 tbsp / 30ml): This Japanese rice wine adds a mild acidity and a high sugar content, which is the secret to that glossy, glass-like finish on the chicken.
Honey or Brown Sugar (1 tbsp / 20g): This “foundational” ingredient ensures the sauce thickens into a lacquer and helps create the charred amber edges seen in the visual blueprint.
Neutral Oil (2 tbsp / 30ml): Use avocado or grapeseed oil for searing. You need a high smoke point to achieve the initial sear without the oil breaking down and becoming bitter.
Toasted White Sesame Seeds & Fresh Cilantro: These aren’t just garnishes; they provide the essential “white and green” visual contrast against the dark meat that signals freshness to the palate.
Essential Kitchen Tools for Professional Searing
To get the Garlic Miso Chicken exactly right, you need a heavy-bottomed skillet. A cast-iron pan or a high-quality stainless steel skillet is preferred because they hold heat exceptionally well, ensuring the chicken sears rather than steams.
You will also need a sharp chef’s knife to achieve the clean, uniform slices shown in the photos. Slicing the chicken after it has rested ensures the juices stay inside the meat, while allowing the amber sauce to coat the interior surfaces for maximum flavor delivery.
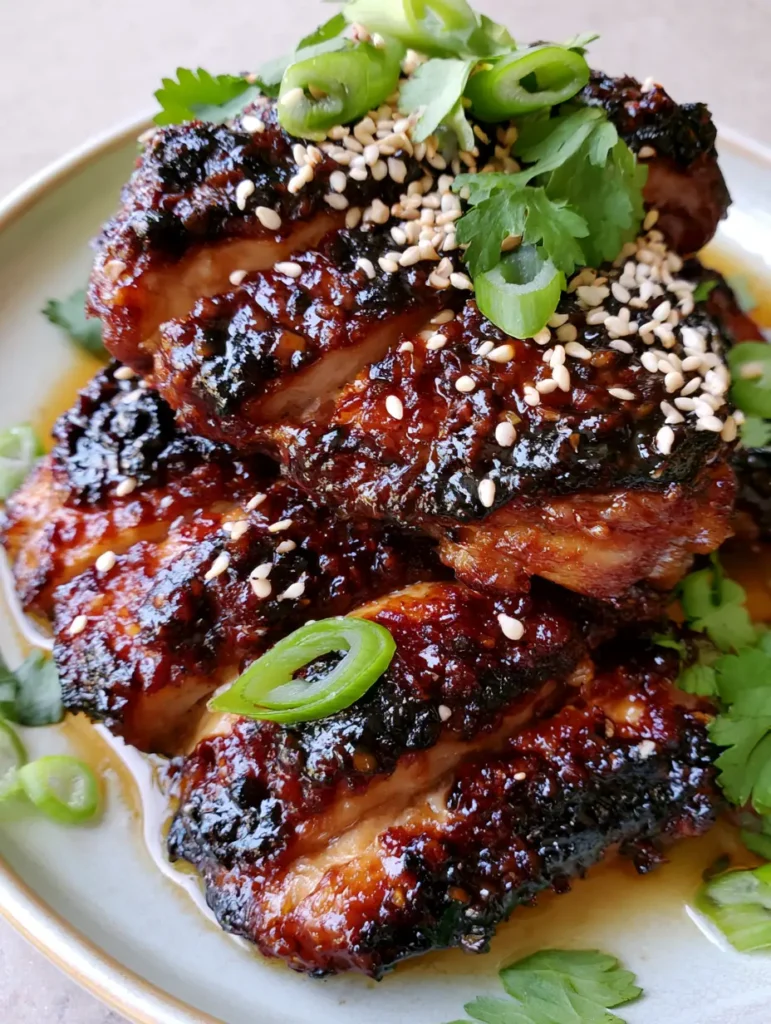
Mastering the Perfect Pan-Sear and Mahogany Glaze
Preparing the Signature Miso Base
In a small bowl, whisk together your red miso, mirin, soy sauce, honey, and minced garlic. The mixture will be thick and paste-like. If it feels too stiff, add a teaspoon of water to help it emulsify into a smooth, pourable liquid.
This preparation is vital. Because miso can burn quickly due to its high protein content, having the glaze ready to go prevents the garlic from scorching while you’re managing the chicken in the pan.
Achieving the Golden-Brown Initial Sear
Pat your chicken thighs bone-dry with paper towels. Season lightly with salt, keeping in mind the miso is naturally salty. Heat your oil in the skillet over medium-high heat until it begins to shimmer.
Place the chicken in the pan. Do not crowd them; work in batches if necessary. Sear for 5-6 minutes per side without moving them. You are looking for a deep golden-brown crust—this is the foundation for the mahogany glaze that follows.
Glazing for the Dark Mahogany Finish
Once the chicken is nearly cooked through (165°F / 74°C internal temperature), reduce the heat to medium-low. Pour the miso mixture directly over the chicken. Use tongs to turn the thighs repeatedly, ensuring every inch is coated.
Watch for visual cues: the sauce will begin to bubble and darken. As the liquids evaporate, the honey and mirin will create a thick, glossy lacquer. Look for the edges of the chicken to begin taking on a slightly charred, dark appearance—this is the caramelization of the miso sugars.
The Final Rest and Amber Sauce Pooling
Remove the chicken from the pan and let it rest on a cutting board for 5 minutes. This is a critical culinary step. Resting allows the fibers to reabsorb moisture, ensuring the chicken is succulent when sliced.
While the chicken rests, look at the residual sauce in the pan. It should be a thin, translucent, amber-hued savory liquid. If it’s too thick, add a splash of water and whisk to loosen it. This is the sauce that will pool at the base of your plate.
Expert Tips for Garlic Miso Chicken Success
- Don’t Burn the Miso: Miso has a high sugar and protein content. Once you add the glaze to the pan, keep the heat low and keep the chicken moving to prevent the sauce from turning bitter.
- Slicing for Style: Slice the chicken at a slight diagonal. This increases the surface area for the sauce to cling to and creates that “stacked” professional aesthetic.
- Temperature Control: If your pan is smoking excessively, your heat is too high. A steady sizzle is better than a violent smoke for achieving that deep mahogany color.
- Miso Varieties: If you only have white miso, you can use it, but add an extra teaspoon of soy sauce to help achieve the dark color required for the visual blueprint.
Preserving Your Leftovers: Storage and Reheating
This Garlic Miso Chicken keeps beautifully in the refrigerator for up to 3 days. Store it in an airtight container to keep the glaze from drying out. When reheating, avoid the microwave if possible, as it can make the chicken rubbery.
Instead, reheat the slices in a small skillet over low heat with a tablespoon of water. This recreates the amber sauce and restores the gloss to the mahogany glaze. You can also freeze the cooked chicken for up to 2 months, though the texture of the fresh cilantro garnish will not survive the thaw.
Pairing Ideas: What to Serve with Garlic Miso Chicken
To balance the intense umami of this dish, you want sides that are either neutral or provide a sharp, acidic contrast. A bowl of steamed jasmine rice is the classic choice to soak up that pooling amber sauce.
For a complete Asian-inspired feast, serve this chicken alongside Japanese miso mushrooms (coming soon) to lean into the earthy flavors. If you want a bit more heat in your meal, this chicken makes an incredible protein topper for fiery chicken ramen.
If you enjoy the profile of this dish but want something on the lighter side, consider pairing it with a crisp cucumber salad. For those who love garlic-forward poultry, you might also enjoy our lemon garlic chicken or the fun, handheld honey garlic chicken skewers (coming soon).
Frequently Asked Questions
You can, but breasts dry out faster. If using breasts, sear them for less time and ensure you don’t overcook them before adding the glaze to maintain juiciness.
Yes, you can use white miso, but the glaze will be lighter in color and milder in flavor. To mimic the dark mahogany look of Garlic Miso Chicken, add an extra teaspoon of soy sauce.
The key is to reduce the heat to medium-low before adding the glaze. Miso has high sugar and protein content, so keep the chicken moving constantly once the sauce is in the pan.
It can be! Ensure you use a gluten-free certified miso paste and swap the soy sauce for tamari or coconut aminos.
The combination of honey and the natural sugars in the miso, when subjected to the residual heat of the pan, undergoes the Maillard reaction to create those dark, savory edges.
The Ultimate Garlic Miso Chicken Recipe
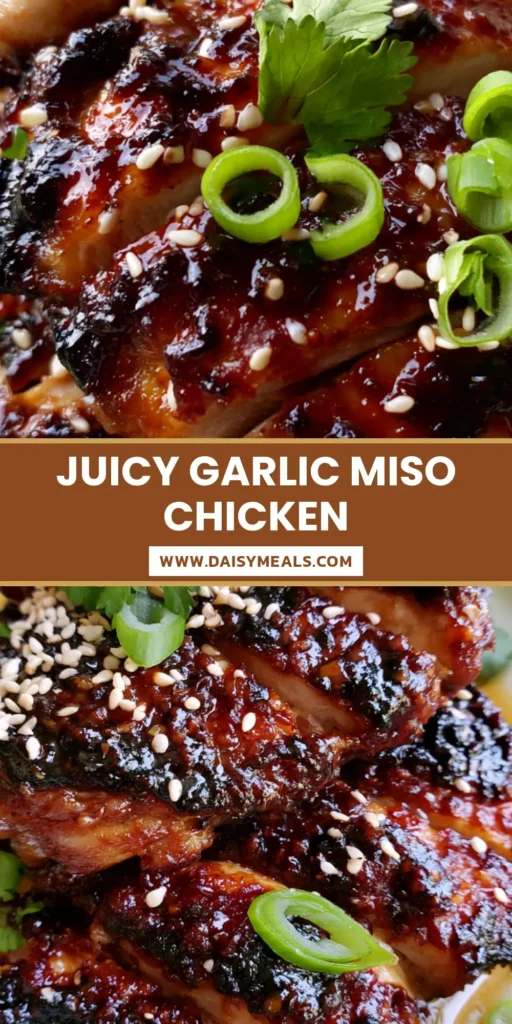
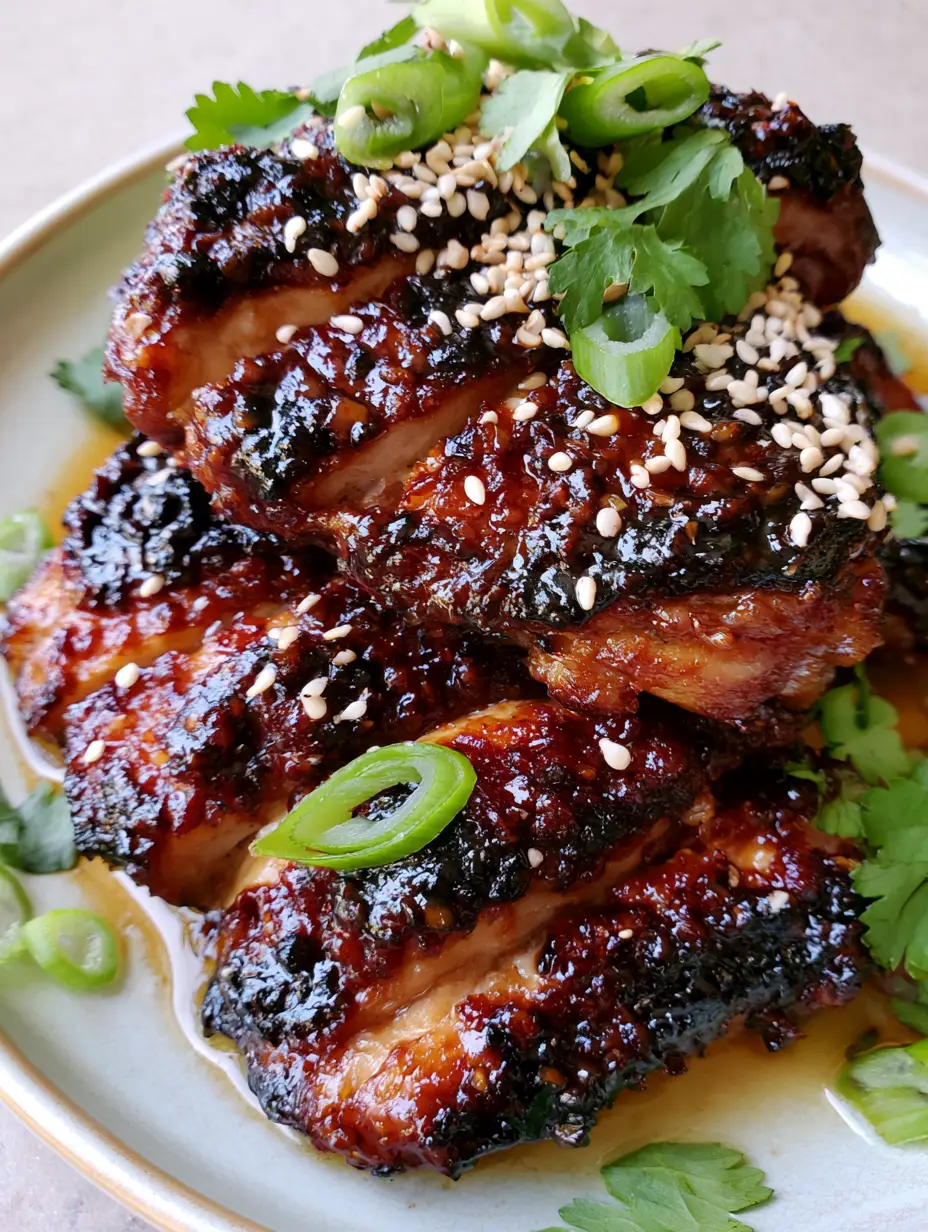
Garlic Miso Chicken: The Ultimate Umami-Rich Pan-Seared Thighs
Ingredients
Equipment
Instructions
- In a small bowl, whisk together the red miso paste, mirin, soy sauce, honey, and minced garlic until smooth and emulsified.
- Pat the chicken thighs completely dry with paper towels. Season lightly with salt on both sides.
- Heat oil in a heavy skillet over medium-high heat. Add chicken and sear for 5-6 minutes per side until a deep golden-brown crust forms and chicken is cooked through.
- Reduce heat to medium-low. Pour the miso glaze over the chicken. Turn the chicken continuously for 2-3 minutes until the sauce thickens into a dark mahogany glaze and the edges begin to char.
- Remove chicken to a board and rest for 5 minutes. Slice into uniform strips.
- Arrange sliced chicken on a plate, allowing the amber sauce to pool at the base. Top with toasted sesame seeds, scallion rings, and fresh cilantro.
Notes
Ensure the pan is not overcrowded to achieve the best sear.
Final Thoughts on This Umami Masterpiece
This Garlic Miso Chicken is a testament to how a few high-quality ingredients can create a dish with immense visual and flavorful impact. From the glossy dark mahogany glaze to the caramelized charred edges, every element is designed to impress. Whether you are cooking for a weeknight family dinner or hosting friends, this recipe delivers a sophisticated palate that belies its simplicity.
If you made this recipe and loved it, please leave a comment and a rating below! Your feedback helps other home cooks find success in the kitchen. Don’t forget to share your creations on Instagram and tag us, and be sure to pin this recipe to your favorite boards on Pinterest for later!